
Today I have another nail art tutorial for you all, this time inspired by the mid-century's obsession with the atomic age and space exploration! The galaxy print nail has been a trend for quite a while now, but I thought I would do a little tutorial on an easy way to get the look. Doing something so time intensive for every nail might not be the way to go, so I used the galaxy nail as an accent with a Formica inspired blue manicure!

What could be more mid-century than a sparkling robins egg blue Formica table top? Seeing as I don't have a kitchen of my own I thought the surface design would translate well into inspiration for a manicure!
 |
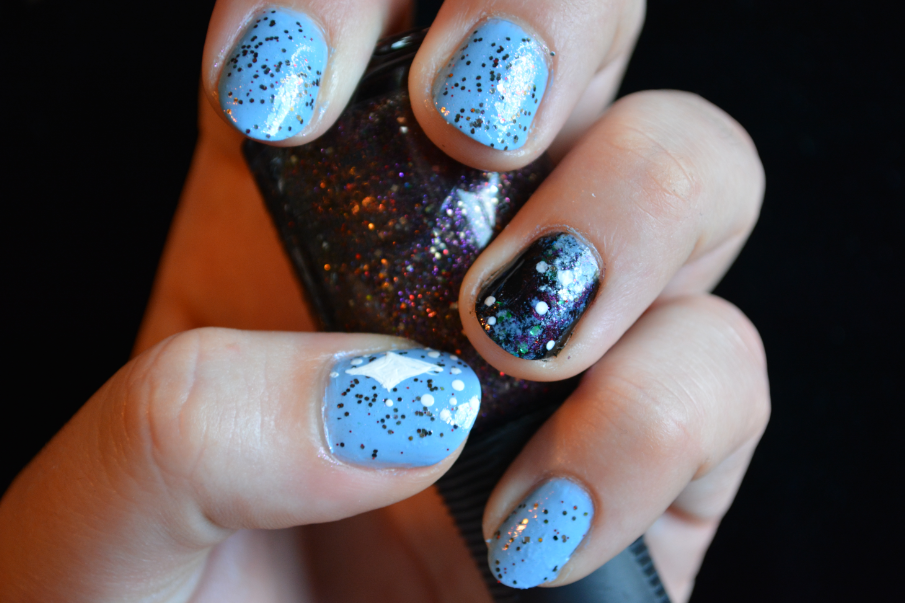
| A verity of galaxy nails, with hand drawn stars or additional glitter added! |
- Black creme polish for the base (I used Wet and Wild Black Creme)
- A mid-toned blue creme polish (I used Revlon Dreamer, you could also choose a mid pink or green or yellow even!)
- An iridescent flake polish topcoat (I used finger paints Flecked)
- A mixed color and texture glitter topcoat (I used Orly Digital Glitter, which is an awesome polish!
- White creme polish (I used China Glaze White on White)
- Dotting tool or toothpicks
- Tweezers
- Torn pieces of make-up sponge
- Topcoat

Start with 2 coats of the black creme polish to create the base for your galaxy nail and allow to dry.

Tear off a random bit of make-up sponge to use for sponging on your mid-toned creme polish.

Hold onto your little sponge with tweezers and dip it into some of your mid-blue polish.

Dab on your galaxy formation, try and create a loose shape as opposed to just covering the nail in even blobs. There should be a defined star cloud area, if you will :)

Next dot on a bit of the iridescent flake polish around your sponged shape using the very tip of the nail polish brush.

Select your glitter top-coat of choice for your Formica look and for your background stars. I like Orly Digital Glitter because it has a good mix of different sized and different colored shimmer and glitter flecks.

Paint the glitter on around your galaxy formation.


Add clear top coat and your galaxy is finished! There is really no wrong way to create galaxy nails, sponge on more colors, use different types of glitter topcoats, the options are endless!

To finish the manicure just paint the rest of your nails with the mid-blue color and layer on your glitter top coat for a Formica inspired look. For the final touch of the 50's space age kitsch I added a diamond star and some white dots to my thumb nail as an additional accent!


No comments:
Post a Comment