One of the most contagious nail art trends to consume the internet last year was the scotch tape manicure. Simply paint your color of choice onto some tape, cut out shapes or stripes, and voila' custom nail stickers! I decided to put together an easy Art Deco inspired design for you all with this tape technique!
You will need:
-Three colors of nail polish (I used OPI A-Piers to be Tan, Maybelline Bold Gold, and Wet and Wild Black Creme)
-Scotch tape
-Tweezers (makes it all a lot easier)
-Small scissors
-Clear top coat
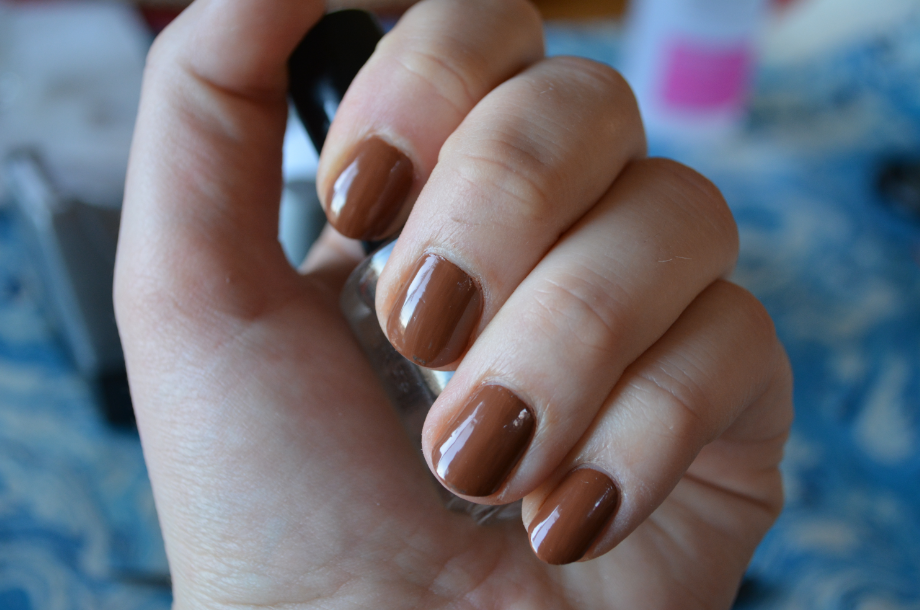
Start by painting your nails a solid color and let them dry completely.
To make your nail polish tape, simply paint onto the scotch tape in thin layers letting the polish dry completely.
Once completely dry, cut thin angled strips of the painted tape. It is easier to cut even tiny triangles off of this little strip.
Position each triangle onto the top of your nail pointing downwards. Tweezers make the process of lining up the tiny pieces of tape a whole lot easier. Once the triangle is in place, gently press the tape down with your finger to make sure it is fully stuck down. Layer another row of triangles on-top of the first for a layered Art Deco design.
Simply finish by adding a thick-ish layer of topcoat and your done! I particularly like this look with a super metallic polish as it creates a lovely glittering lacquer like look. Have fun rocking a new cute manicure!


This is officially brilliant! I love (!) this clever, inexpensive, super cool nail art idea. I shall be experimenting on the double. Thank you for sharing this great how-to with us, dear gal.
ReplyDelete♥ Jessica
Thanks Jessica! Have fun :)
Delete